
As noted in the post about choosing a heating element, the 2200W element is a good choice for my needs. It will take about 40 minutes to bring 6 gallons of liquid up by 100F and the total expected wait time on brew day (mash and boil) should be around 1 hour.
A 2200W load powered off a 120V socket will draw
2200W / 120V = 18.75A
A standard electrical outlet can only support 15 Amperes of current, so this setup will require some fiddling with electrical sockets.
Disclaimer: I am not a licensed electrician and all the material here is for purposes of documenting my work. If you do not know what you are doing, please consult an electrician. Electricity will kill you if you are not careful.
Luckily, most kitchens are wired with 12AWG wiring and run off 20A breakers. Before proceeding this should be verified. After identifying which outlet I will be replacing, I found which circuit breaker it is on.
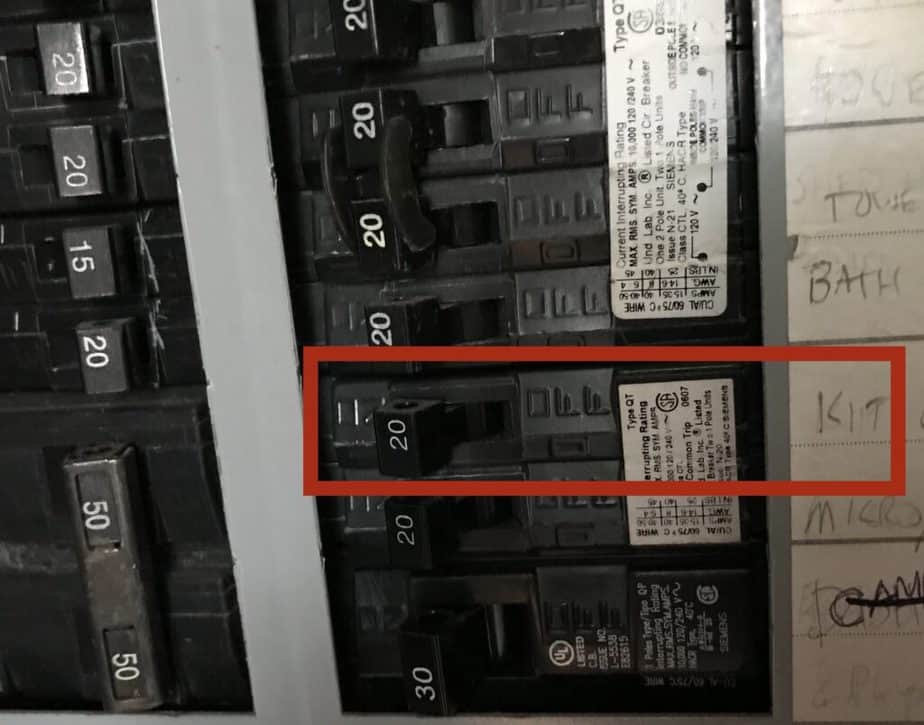
Indeed it is a 20A breaker. I also checked the wire gauge of the wires coming out of the wall after removing the original socket (and AFTER turning the breaker OFF).
A 20A outlet will run you $15-20 at home depot. The difference is subtle, but a 20A plug (NEMA 5-20) will not fit in 15A outlet (NEMA 5-15). The opposite however will be fine: you can plug your standard 15 amp gadgets and appliances into a 20A socket.

Note that the socket should be GFCI, since brewing brings together those two best friends, liquids and electricity. The socket should look something like this:
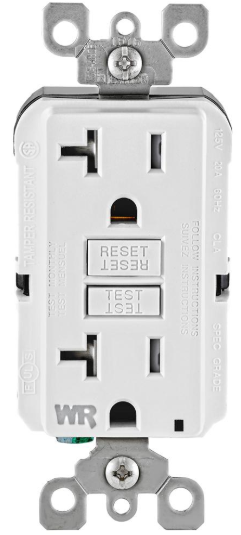
After installation, make sure to test the ground fault protection with the test and reset buttons.