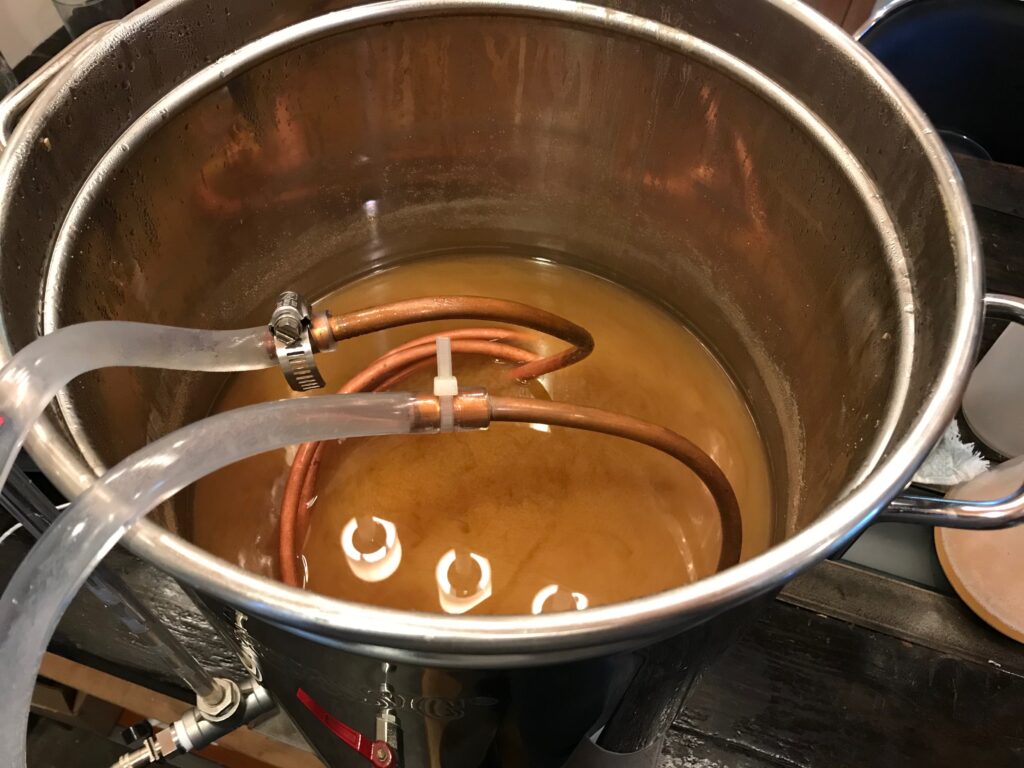
I’ve been working on a V2 version of the brew pot. Adding a whirlpool port has been on of the objectives, as well as adding sight glass to read out volumes.
I use an immersion chiller, and there’s a significant decrease in cooling time when the chiller is moved around in the wort rather than being just left sitting there. But to be fair, it’s pretty annoying to stand there and move the chiller around for 20 minutes. Not to mention that one branch of it is very hot at the begining.

So, why not make the wort move around the chiller instead!
Whirlpool Hardware
To accomplish this, I’ll simply re-use the recirculation pump but add a new port on the right side of the kettle to plug the pump’s return into. The port will need a ball valve to be closed up when not in use. I don’t have much freedom as to the height of the port, as it has to remain below the grain basket. From what i read online, the height is not particularly important, so it will roughly below the basket line. That’s about 3 inches off the bottom of the pot.
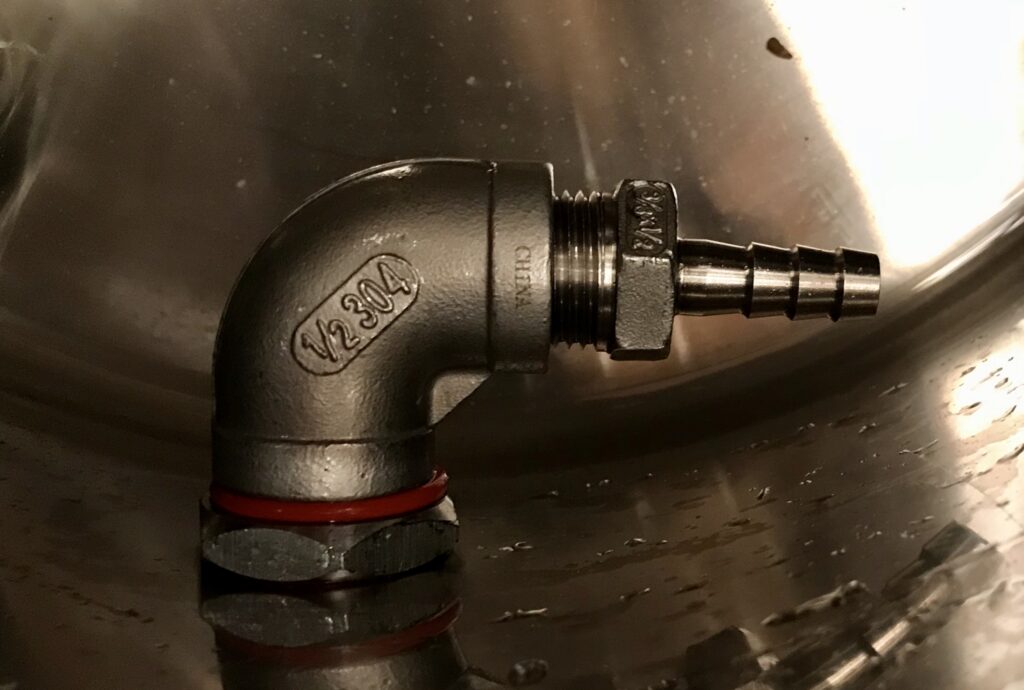
Inside, I’ll need some wait of sending the liquid off to the side to create a directional flow in the kettle. There are many options here, including this one from brewhardware.com that is very elegant. It’s also a bulkhead, which is needed here in some form. I may opt for this in the future. For now however, i can reuse some basic fittings i already have. I will simply use an 1/2″ NPT elbow with a male NPT barb at the end to increase the pressure.

Whirlpool in Action
It takes about 15-20 minutes to chill the wort from boiling to 70, and I don’t even have to be in the room.
Sampling Port
There’s one more benefit to all this. I now have a sample port for getting wort and making measurements (PH, gravity, conversion) during the mash. Until now i’ve had to use the main valve which is hooked up to a pump for recirculation, and having to unhook this to take a sample has been annoying. A dedicated port will be a nice upgrade.
