There are many beautiful stainless steel brew pots on the market, including custom configurable offering from the likes of Spike And Blichmann. They will typically cost you upwards of $250, depending on the exact configuration. For example a spike 10 gallon pot configured the way I will need it will run $310. To keep our whole system in the $500 ranges, this will not be an option.
Pot
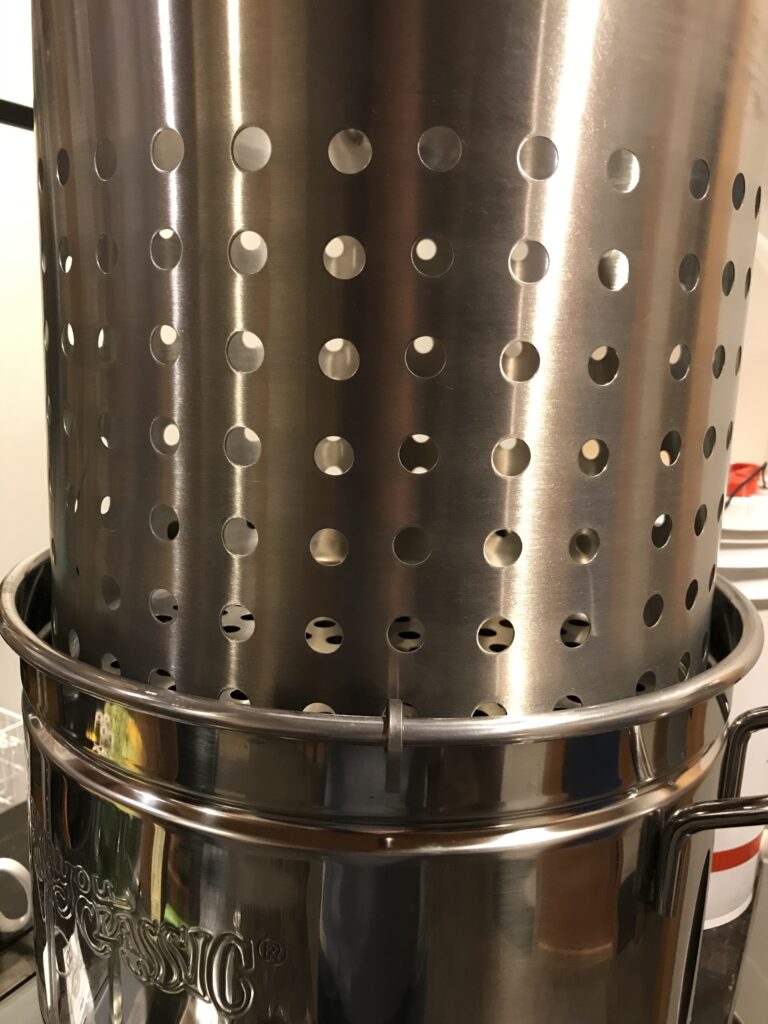
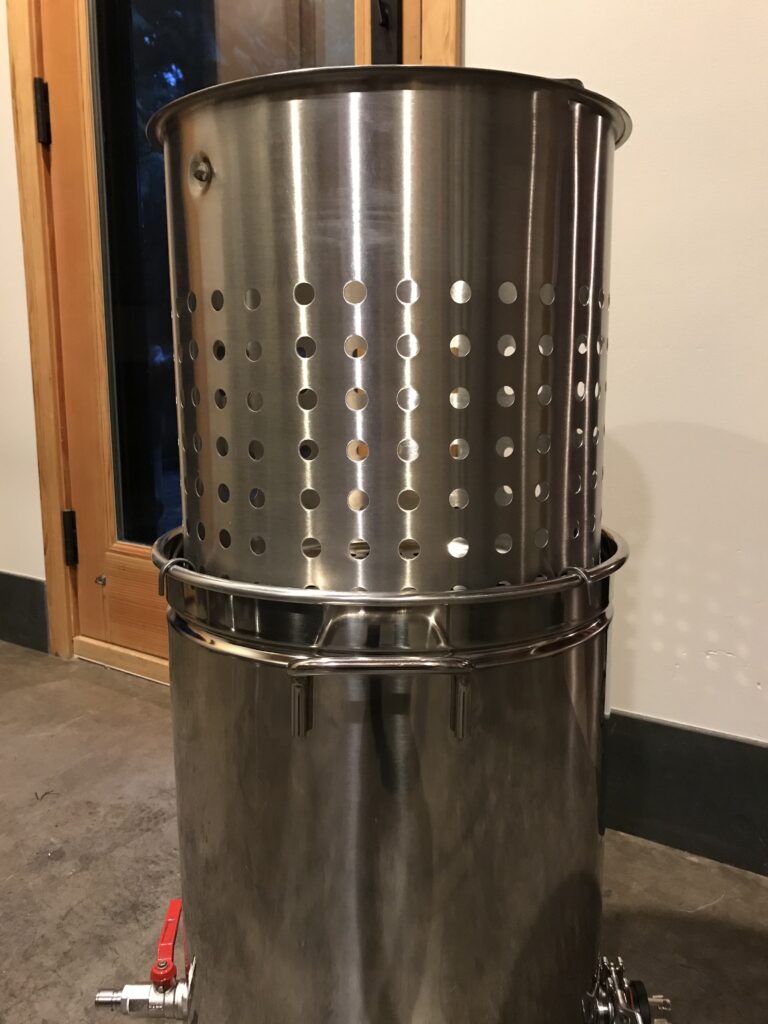
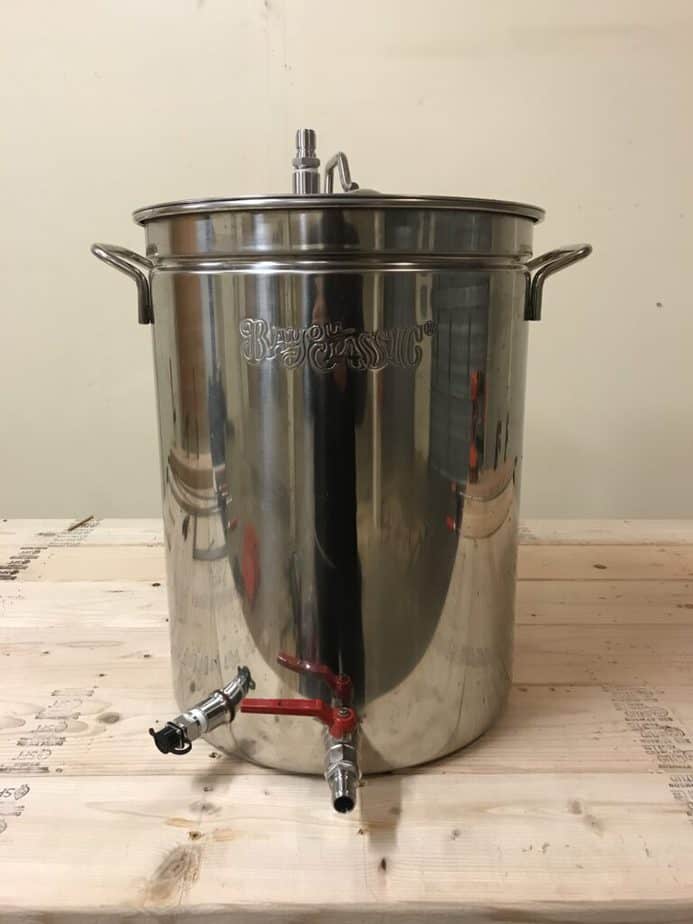
The most cost-effective choice for a brew pot seems to remain the 44-quart bayou classic stainless-steel pot and basket combo. This can be generally found for less than $100 from various outlets including Amazon. The basket hangs inside the pot with a clearance of about 4 inches at the bottom. This gives us plenty of space to add the various fitting that we need.
One can avoid using the basket all together and only use a brew bag, but I am not too comfortable letting a nylon bag sit on the heating element, though many have reported that this has caused them no issues. In fact, as pointed out in the linked thread, sciences and such tell us that a)the heating element when immersed will not be much hotter than the boiling point of water, as the liquid carries the heat away as fast as it is produced, b) the melting point of Nylon is >500F so nowhere near the temperature of the element in liquid. So I am probably wrong 🙂
That said I can see two other advantages to the basket. It’s easier to lift with the handle that trying to grab unto the bag and, my favorite, it can be hung above the kettle with a few hooks for draining purposes after the mash. Another non negligible reported issues is that the recirculation output can get plugged by the bag if a basket is not used.
Fittings
The pot will need the following fittings.
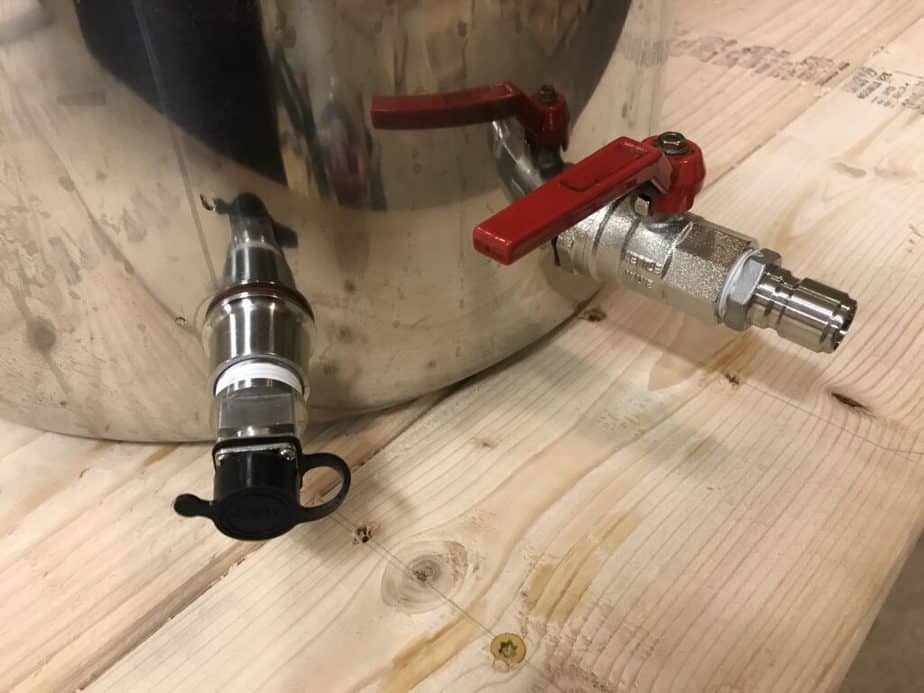
- A ball valve (1/2” NTP)
- A temperature sensor/probe (1/2” NTP)
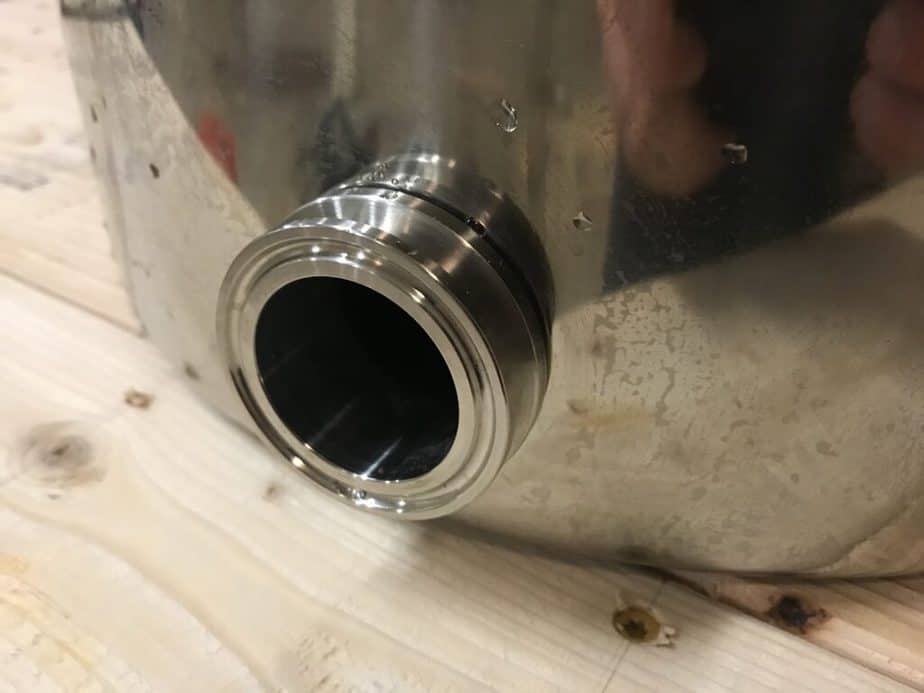
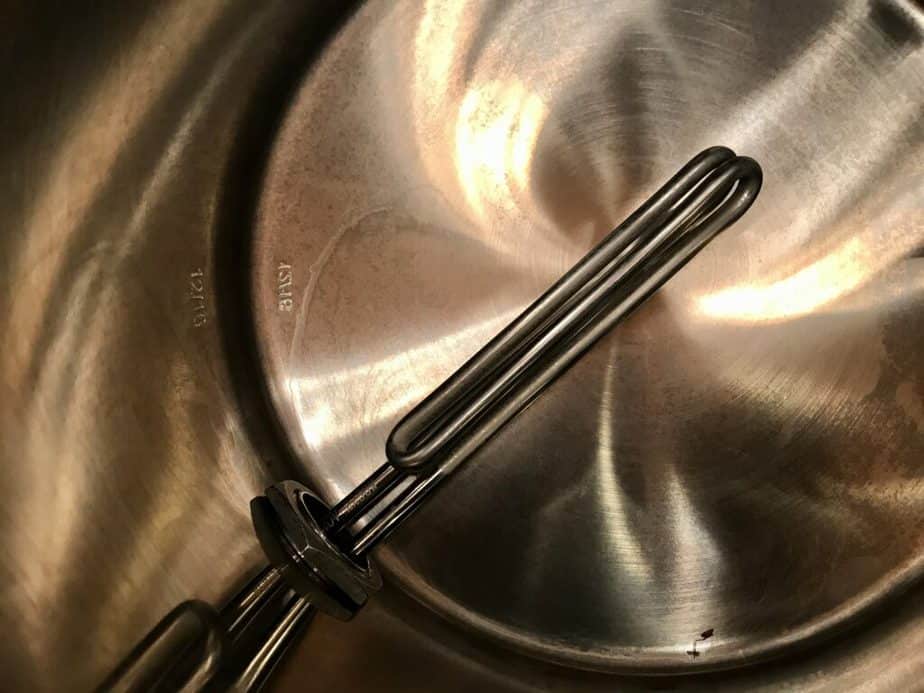
- A heating element (1.5” Triclamp)
- A recirculation return (1/2” NTP)
Here are the parts we will require. All fittings are weld-less so I’ll be making holes in the pot to install them.
| Component | Link | Price($) |
|---|---|---|
| Pot | Amazon | 97.99 |
| Ball valve | Amazon | 14.99 |
| 2 x 1/2′ NTP Bulkhead | Amazon | 10.99 |
| Triclamp Bulkhead | Amazon BrewHardware | 20.99 |
| Total | 155.95 |
The port placement is not critical, but most pots out there follow something along the lines of this diagram.

Tools and Installation
There’s a very nice set of videos from brewhardware.com documenting a pot build. A heating element is not installed, but all other fittings are and a lot of good information is conveyed regardless. I recommend watching these before starting.
To install the fittings we will need to drill holes in the stainless steel pot. There are 2 cost effective way of doing this. The most popular is to use a step bit (as shown in Brewhardware’s video). Use a low speed high torque drill and some lubricant.
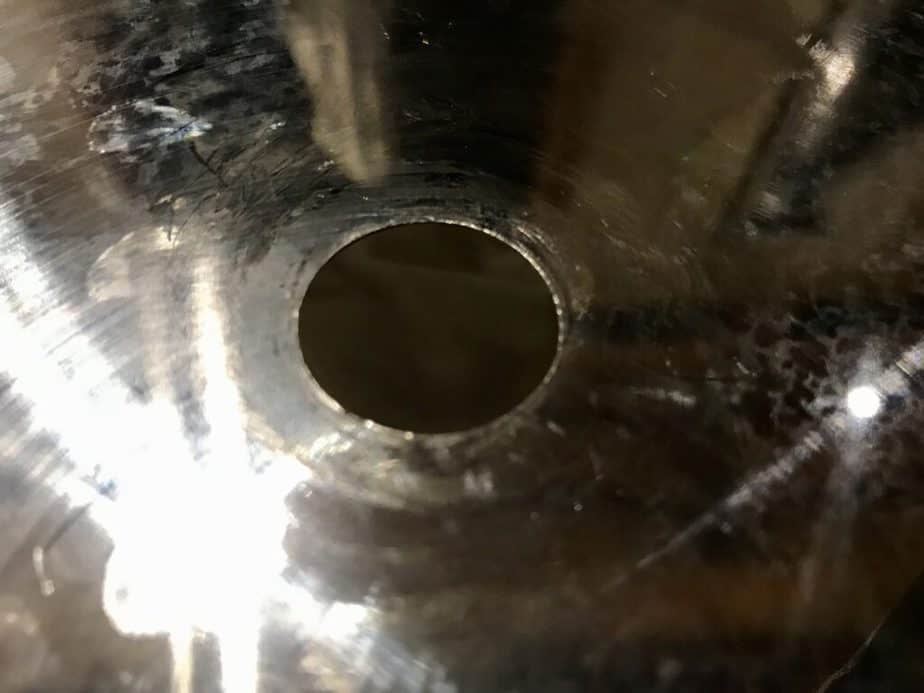
All the fittings except for the TC element port bulk head are 1/2” NPT and thus require a 13/16” hole (a 7/8” hole will be fine too). The TC fitting will require a 42mm hole. No step bit can make holes this large, so the solution of choice here is to use a 40-42mm hole saw.
I personally prefer the job done by the hole saw as compared to the step bit, so I also purchase a 13/16” (21mm) hole saw for the other ports. It’s a bit more expensive but I was able to get much cleaner holes with a hole saw (And I’ve made some horrible hack jobs of using a step bit… I’m sure it’s my fault, as plenty of people can do this just fine). Whichever method you use, I suggest practicing on some random piece of stainless steel before you try this on your brew pot.
Here is a video from mash hacks where Ben uses a hole saw to drill his ½”NPT ports. Note his use of excellent protective footwear 😊
List of Tools
| Tool | Link | price($) |
|---|---|---|
| 40 mm hole saw | Amazon | 12.59 |
| 21 mm hole saw | Amazon | 19.96 |
| OR step bit | Amazon | 14.97 |
| Total (hole saws only) | 32.55 |
Note that there are many options on amazon when it comes to hole saws, and they change, so shop around.

