Three cables are needed to connect the brewing system:
- A power cable, from outlet to controller
- An element cable, from controller to pot/element
- A temperature probe XLR cable
The temperature probe cable should be ordered with the temperature probe as pointed out in the controller post. So let’s focus on the power cables.
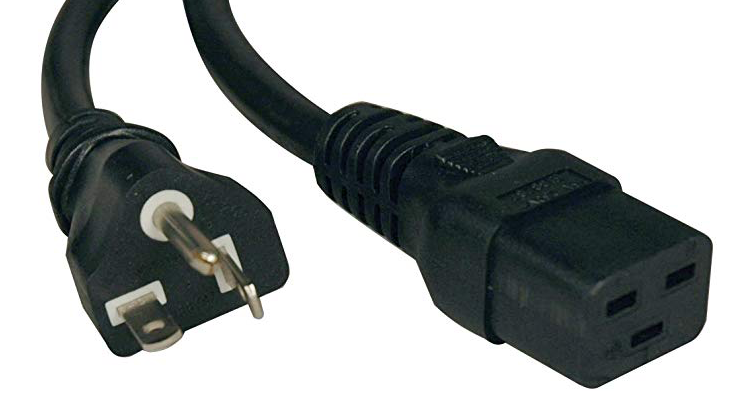
The cable from the wall to the controller needs to be a 20A NEMA-x male and C19 female make connector. The cable needs to support 20A thus be made of at least 12 AWG wire.

You can buy this very cable from Amazon. Coming in at $28 it is a little bit pricey but is essentially what you need.
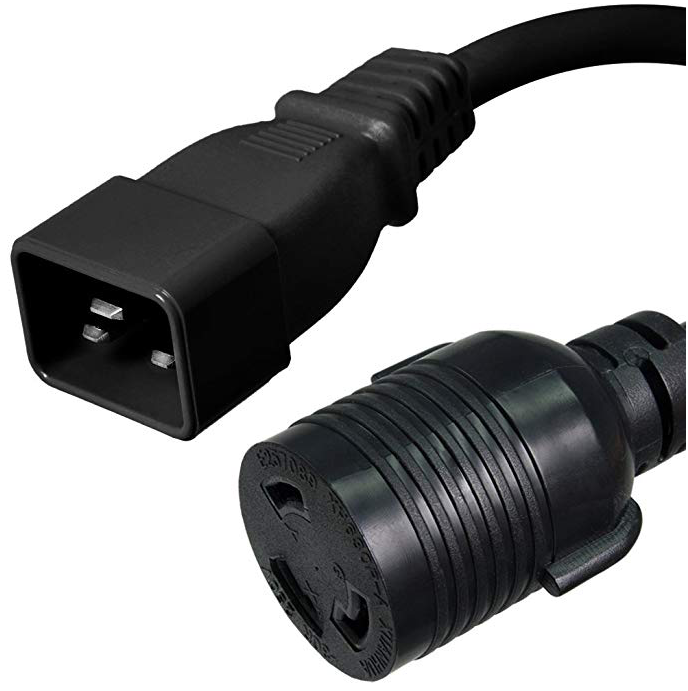
On the other side of the controller, the cable connecting to the element needs to be C20 male to NEMA-L6-30 female.

There are also various options on amazon for this cable. The cheapest I found for a 3 feet length is around $40.
Not one to settle for close to $70 worth of cables, here is how we can build these cables very easily for less than $30. We basically need 3 parts all readily available fromamazon
Part List
| Component | Link | Price($) |
|---|---|---|
| Cable | Amazon | 10.27 |
| NEMA L6-30 Female plug | Amazon | 9.79 |
| NEMA 5-20 male plug | Amazon | 8.99 |
| Total | 29.75 |
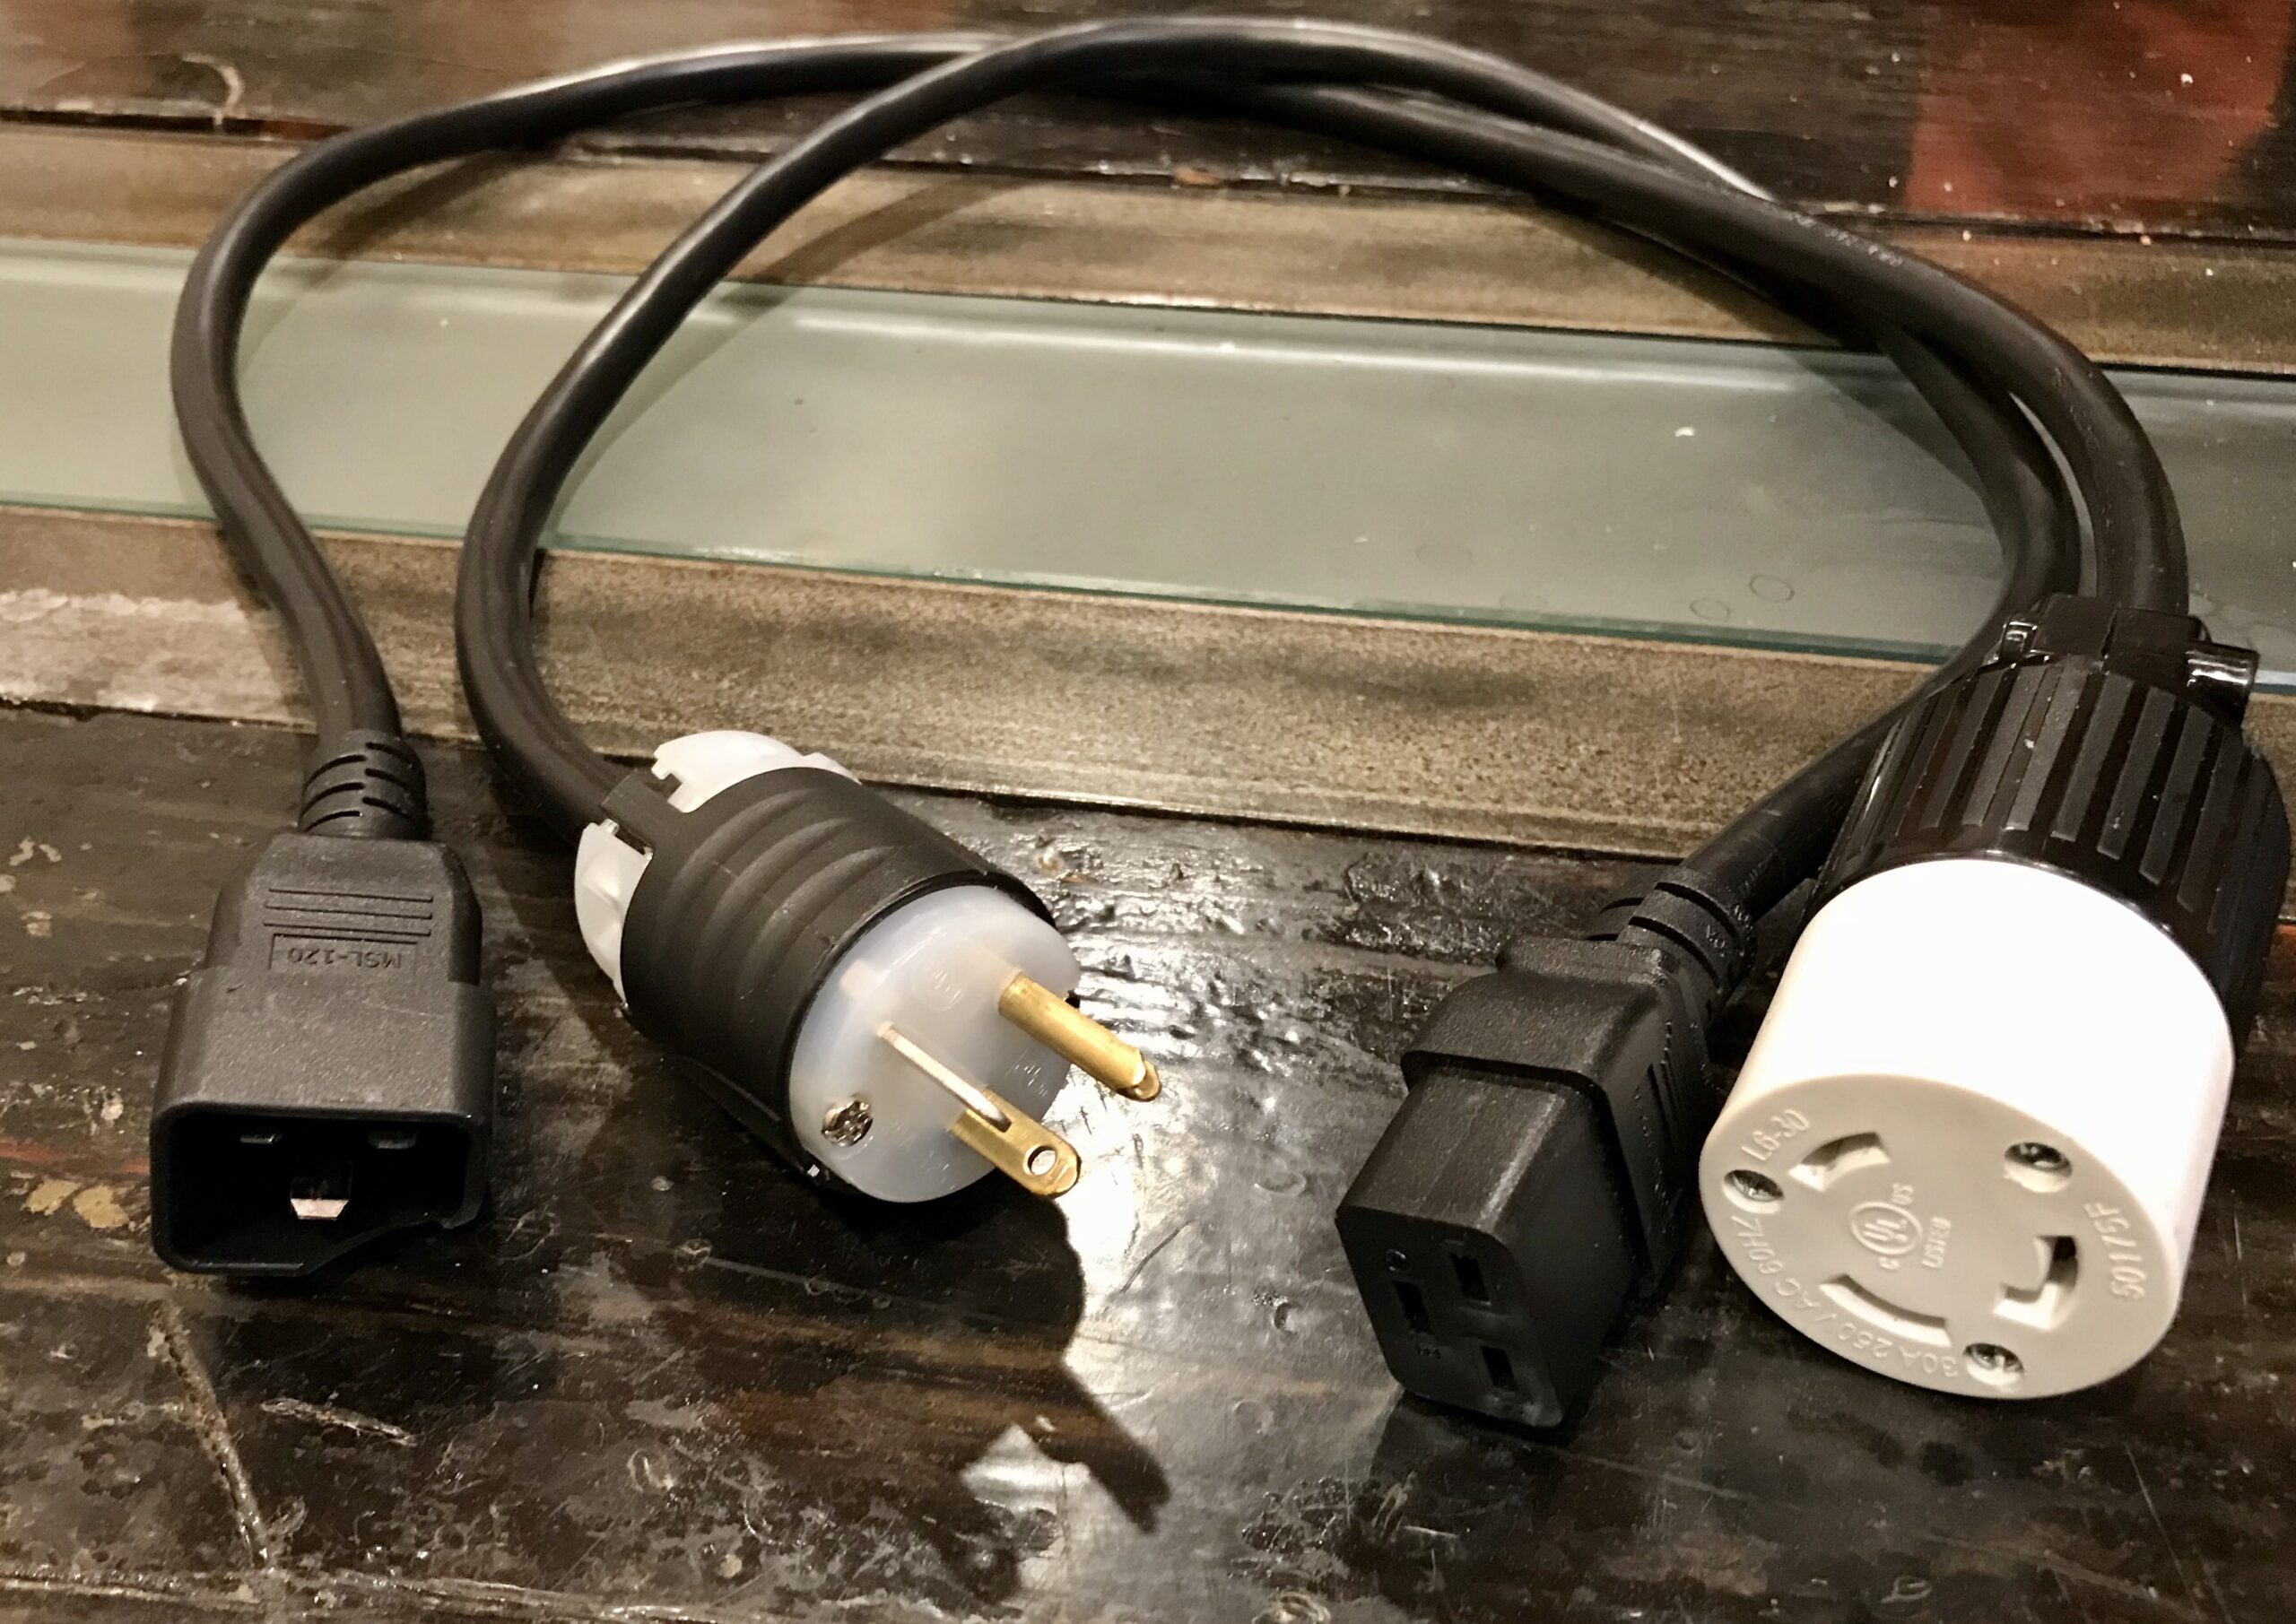
With all these supplies, we’ll make two 3 foot cables. Simply cut the cable in the middle, strip the wires and attach the sockets.

- L6-30 socket to C20 (male side of cable)
- 5-20 socket to C19 (female side of the cable)
And there we have it, our cables for $29.75. All in a day’s work…

Another advantage of making the cables yourself is that you can avoid having 6 foot long unruly cables, which is typically the size pre made cables come in (I’ve not found any 3 foot long pre made cables for sale)
